I am working this Monday, but that didn’t stop us from some MMM fun. Friday had all the makings of a Monday. RRL was back to work after 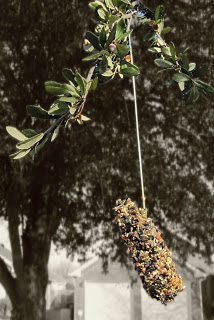 being home with the kiddos on Thursday. We were trapped at home thanks to freezing temps and sniffles all around. I was a bit exhausted from a long week and overwhelmed at the thought of trying to recover our house from the holidays. We needed a plan. And the pine cone we brought back with us from TN provided the solution.
So, with the help of my handsome assistants. Here are instructions for making your very own pinecone birdfeeders
(Ok, you got me. Its just an excuse to show you pictures, because you really don’t need instructions- its basically rocket science).
STEP A:
Find a pinecone.
Can’t really help you here. We didn’t find our pinecone…it found us. Literally. It attached itself to the roof of our van while we were visiting my parents and scared me to death. We (being me) thought an animal was clawing its way through the roof. RRL (my knight in shining armor) was brave enough to check and found what he thought to be a useless pinecone. As he was about to toss it to the wayside, I exclaimed “NO! DON’T! I NEEEEEDDDDDD that”. And I did. For this. We were meant to have it.
Step B:
Tie a string to the pinecone and tape said string to the work surface (see tips below).
Tie a string to the pinecone and tape said string to the work surface (see tips below).
Step C:
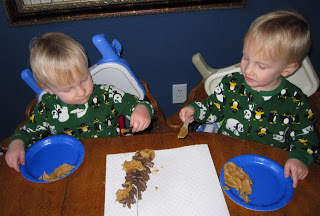
Use a plastic knife to liberally apply peanut butter to all the cracks and branches and judging from the faces of the assistants…it is quite necessary to taste test the peanut butter along the way.
(do pinecones have branches? What are those things called that stick off?)
Step D:
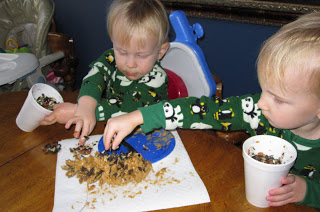
Pour, pinch, drizzle, cake, clump, dump and roll birdseed onto the peanut-butter-coated pinecone branch thingies.
Step E:
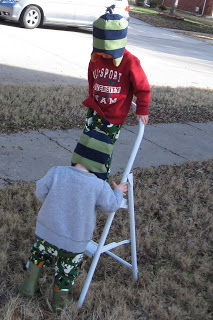
Bundle up in your warmest clothes (or at least put a sweatshirt on over your PJs) to go outside and find a branch on which to hang the feeder. One website I found suggested a low hanging branch so the squirrels can’t get to it as easily.
(yeah, you know that part about this not being rocket science…even so, I research everything. its part of the fun.)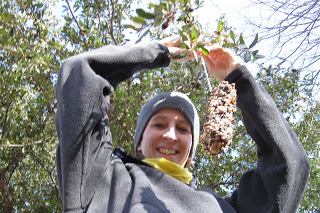

Step F:
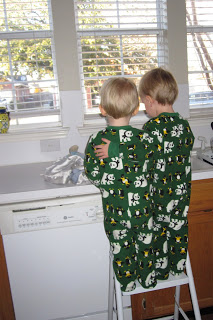
Go back inside quickly, to avoid hypothermia, and watch for birds to flock to your feeder.
Go back inside quickly, to avoid hypothermia, and watch for birds to flock to your feeder.
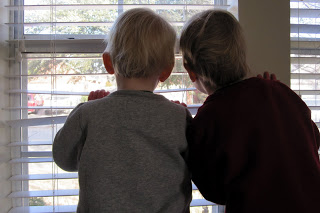 Funny thing about that part (the bird watching part)… apparently the person in charge of this project who knows EVERYTHING about birds (like that they fly) didn’t know that
there wouldn’t be any around when the temps are low. In his/her mind, they’d all be looking for food and be so happy with us for putting this out for them. I (um, I mean he or she) was wrong. We were all disappointed. I told KJ that I was sorry that our feeder didn’t attract any birds. He said “That’s ok. Maybe we should have just put it in a house… like in the picture” (referring to the flock of birds on the birdfeeder in the picture on the bag of birdseed). Which kept Momma from getting a big head about her wonderful projects and how much my children love them.
If you are going to try this at home, here are a few tips (I mean, besides the obvious one of trying to find a time when there are actually birds around to enjoy the feeder you made):
1) Tie the string to the pinecone before you start. Then tape the string to the surface you are working. This keeps it from slipping off the table while little hands are applying peanut butter.
2) If I had known how much peanut butter would be required to cover the whole pine cone (including snack breaks) I would have bought some generic just for the project instead of using the good stuff.
3) Might have been a good idea to do this project when the temperatures were at least about freezing. Maybe.
4) Repeat the mantra…”I can sweep the floors, the floors can be swept, I can sweep the floors, the floors can be swept”.
Enjoy.
ABL

